Is opening your refrigerator starting to feel like a high-stakes game of food Jenga?
A cluttered, chaotic fridge isn’t just stressful when meal planning—it’s also one of the leading drivers of unnecessary food waste. When fresh produce gets hidden behind condiment bottles or forgotten in the dark corners of the bottom shelf, good food goes bad, and hard-earned money goes down the drain.
Taking an hour to reset your refrigerator creates a functional, beautiful system that keeps ingredients fresh and visible. Here’s a step-by-step guide to getting it done.
Step 1: The Total Reset (Empty It Out) Before you organize, you need a clean slate. Remove everything from your fridge—including removable shelves, door bins, and crisper drawers.
Pro Tip: Lay items out on your counter or dining table grouped roughly by type. Having a complete visual inventory immediately highlights duplicates (like those three open jars of mustard) and hidden surplus.
Step 2: Clean Thoroughly With everything out, tackle the surfaces with a gentle solution of warm water, white vinegar, or mild dish detergent.
Wipe down shelf tracks, interior walls, and drawer corners where spills hide.
Don't forget door gaskets and handles—these are high-touch areas that benefit from a quick wipe.
Dry everything completely before reinserting shelves and drawers.
Step 3: Sort, Audit & Restock Intentionally Go through your pulled items with an eye toward freshness and sustainability.
Audit dates and quality: Compost expired or spoiled items.
Group like with like: Sort items into clear categories—leafy greens, roots, condiments, fermented foods, dairy or plant-based alternatives, cooked leftovers, and raw proteins.
Plan ahead: Stocking up on package-free, bulk, or unpackaged local goods? Check out our Package Free DC Where to Shop Guide to find local bulk stores, refill shops, and farmers markets near you so you bring home only what you need.
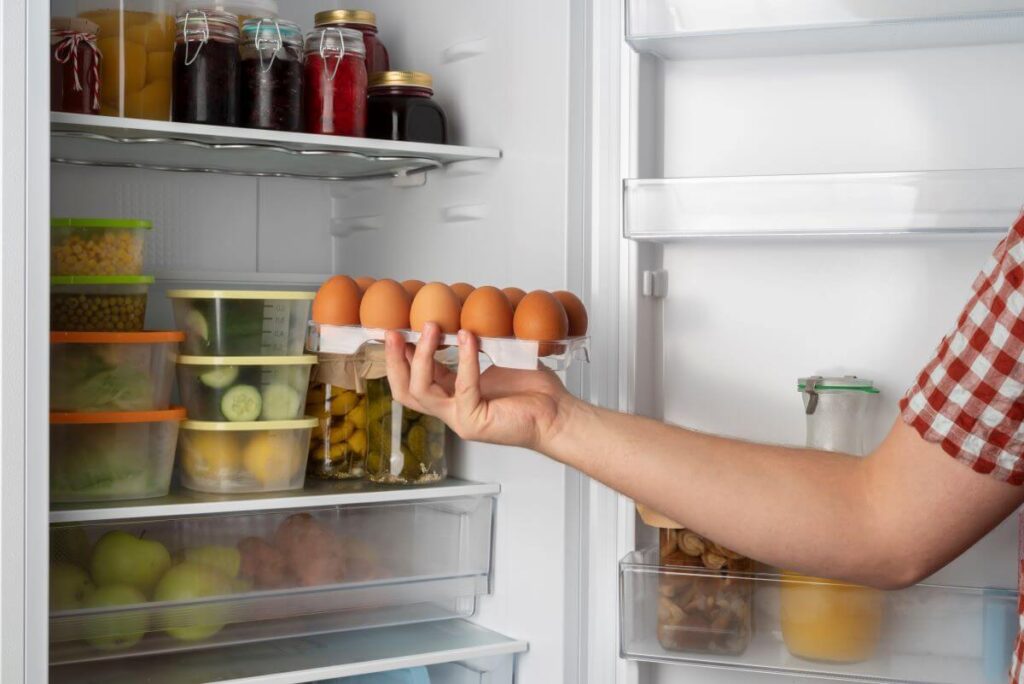
Step 4: Map Your Fridge Zones Temperature varies throughout your refrigerator. Organizing by zone keeps food fresher longer and ensures food safety:
Fridge Zone
Best For
Why It Works
Top Shelves
Ready-to-eat foods, leftovers, drinks, herbs
Most consistent temperature zone
Middle Shelves
Dairy, eggs, plant milks, prepared items
Stable cold airflow
Bottom Shelf
Raw proteins (meats, tofu, delicate proteins)
Coldest area; prevents cross-contamination leaks
Crisper Drawers
Fruits (low humidity) & Veggies (high humidity)
Regulates moisture levels to prolong life
Door Bins
Condiments, preserves, vinegars, oils
Warmest area; ideal for shelf-stable items
Step 5: Zero-Waste Produce Storage Tips (Ditch the Plastic!) Bringing unpackaged produce home from the market is great, but keeping it crisp without single-use plastic bags takes a few simple tricks:
Treat fresh herbs like bouquet flowers: Trim the stems of parsley, cilantro, or mint and place them upright in a small jar with an inch of water. Cover loosely with a reusable cloth or silicon lid.
Wrap leafy greens in damp towels: Wash kale, spinach, or lettuce, wrap them gently in a clean damp cotton tea towel or unbleached cloth bag, and place them in the high-humidity crisper drawer. The moisture keeps them crisp without rotting.
Submerge hardy veggies in water: Keep sliced carrots, celery sticks, and peeled radishes submerged in a jar of clean water in the fridge. Change the water every few days to keep them extra crunchy for weeks.
Beeswax wraps for cut produce: Wrap half-used lemons, avocados, or squash heads in beeswax or silicone wraps instead of plastic film.
Separate ethylene producers: Keep high-ethylene gas producers (like apples and pears) away from sensitive leafy greens and carrots to prevent premature wilting or bitterness.
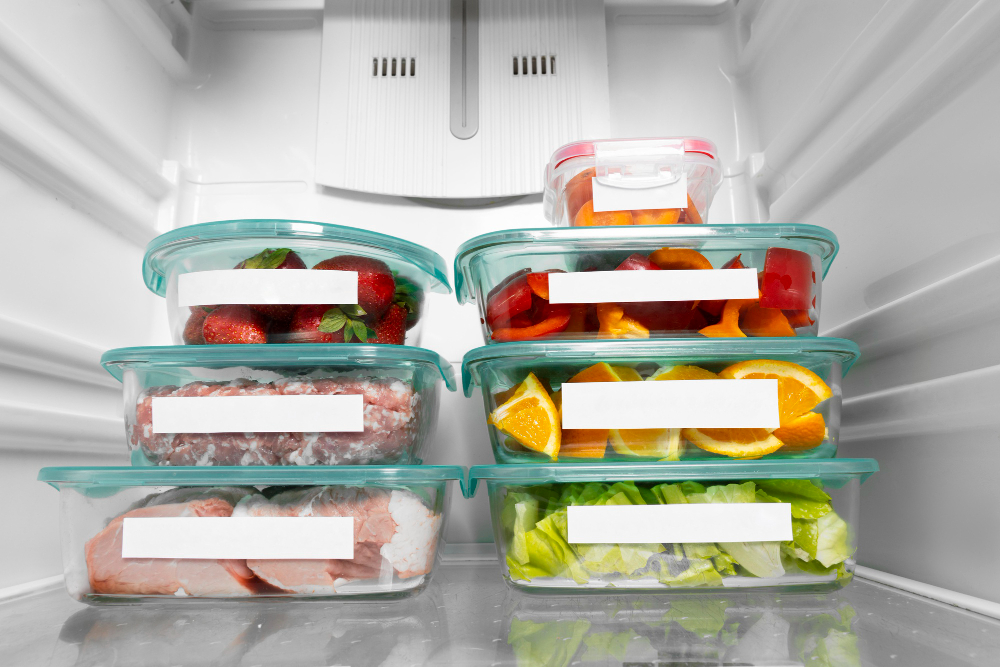
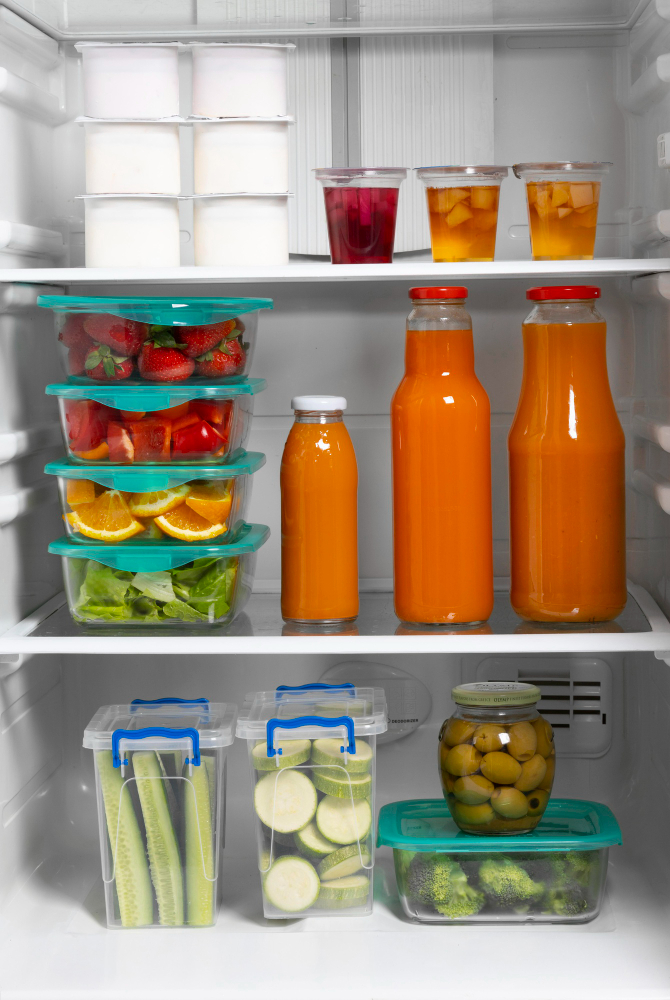
Step 6: Containerize & Label for Visibility Clear storage makes all the difference. When you can see what you have, you actually eat it.
Use clear glass jars, stainless steel containers, or woven baskets to group small loose items like citrus, ginger, or snack jars.
Label leftovers and prepped ingredients with contents and dates using washable glass markers or reusable tape.
Adopt an "Eat First" bin: Place an open crate on the middle shelf for items that need to be used within 24–48 hours.
Step 7: Maintain the Habit Maintaining an organized fridge takes less than five minutes a week if built into your routine:
Shop your fridge first: Before making your weekly grocery list, inspect your shelves to plan meals around what you already own.
First-In, First-Out (FIFO): Place newly bought items behind older ones so older inventory gets used first.
Weekly wipe-down: Do a quick 2-minute shelf audit the day before your primary shop or market run.
By giving every ingredient a clear place, you’ll turn meal prep into a breeze, stretch your grocery budget further, and significantly reduce food waste in your household.
As an eco-conscious resident, you might find yourself constantly grappling with how you can live a more sustainable life. One significant way you can cut down on waste is by altering your shopping habits. Package free shopping is a game-changer in this regard. By choosing to shop package-free, you not only help reduce the amount of waste that goes to the landfill, but you also send a powerful message to retailers about consumer preferences for more sustainable options.
Understanding Zero Waste Shopping
Think of zero waste shopping as a transformative adventure that empowers you to buy goods without generating any packaging waste. How does this work? It's all about bulk buying, toting your containers or bags, and opting for products wrapped in recyclable or compostable packaging.
The aim is to leave no trace of waste that could end up in the landfill. Sounds challenging, right? In reality, it's not. Yes, it does require a bit of strategizing, but once you get the hang of it, you'll realize how immensely impactful and effective it is in reducing your carbon footprint.
Imagine walking out of a store, leaving behind no wasteful footprints, just an eco-friendly example for others to follow. That's the essence of zero waste shopping. The positive ripple effects of your conscientious choices will extend beyond your shopping cart, influencing a more sustainable retail landscape. And remember, every small step towards sustainable shopping is a giant leap for a greener planet. So, gear up for this exciting eco-journey and prepare to make a difference!
Finding Stores with Sustainable Products
Thrilled about embarking on your zero waste journey but unsure where to shop? You're not alone! The good news is, that an increasing number of retailers are joining the eco-friendly bandwagon and offering a wide range of package-free products. Let's begin with your local farmer's markets. They're often overflowing with fresh produce that's not wrapped in plastic, and vendors are usually more than happy to put your purchases directly into your reusable bags or containers.
Then there are bulk food stores – a zero waste shopper's paradise where you can fill your containers with everything from grains to spices, and from nuts to dried fruits. Your regular supermarket could also have a section dedicated to bulk buying or products with recyclable packaging.
If you're more of an online shopper, fret not! There are e-commerce platforms dedicated to selling package-free items, making sustainable shopping a breeze from the comfort of your home. The key here is to do a bit of digging. Research your local area, ask around in your community or browse the internet. You'll be pleasantly surprised at how many options there are to support your eco-friendly shopping habits!
How to Start Your Zero Waste Shopping Journey
Venturing into the world of zero waste shopping may seem like a daunting task, but rest assured, it's an adventure worth embarking on! The first thing to do is take a good, hard look at your current shopping routine. What items are you buying regularly that come in non-recyclable packaging? Could you perhaps bring your cloth bags for produce instead of using the plastic ones provided? Or maybe opt for loose fruits and vegetables rather than those trapped in plastic? Could homemade versions of some packaged goods be a feasible option?
Remember, the journey to zero waste shopping isn't about making radical changes overnight. It's about identifying areas in your shopping habits where you can gradually introduce more sustainable practices. The key here is to make small but consistent changes that can accumulate into a significant reduction in your waste footprint. So, don't be disheartened if you're not able to completely eliminate waste from your shopping right off the bat. Pat yourself on the back for every small victory and continue striving towards a greener shopping experience!
Essentials for a Zero Waste Shopping Trip
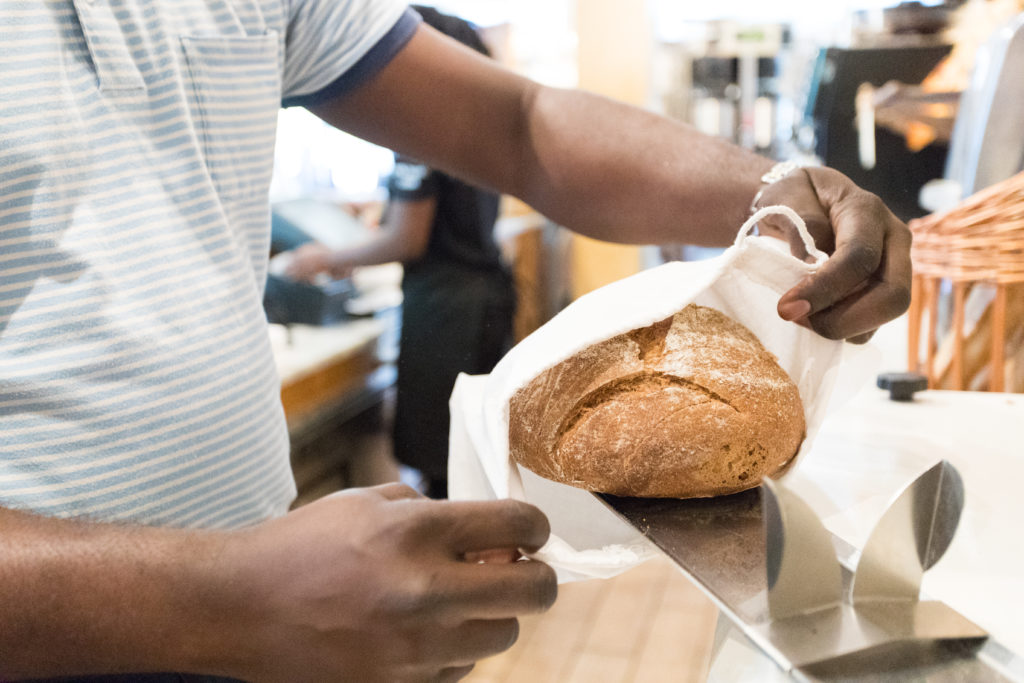
Embarking on a zero waste shopping trip is akin to a well-planned adventure, and every adventure requires a good set of tools. Your arsenal of eco-friendly shopping supplies should include reusable shopping bags, a staple item that eliminates the need for disposable plastic bags.
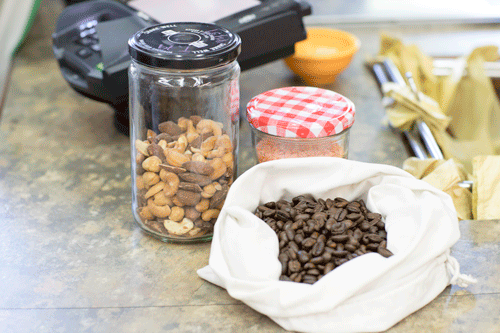
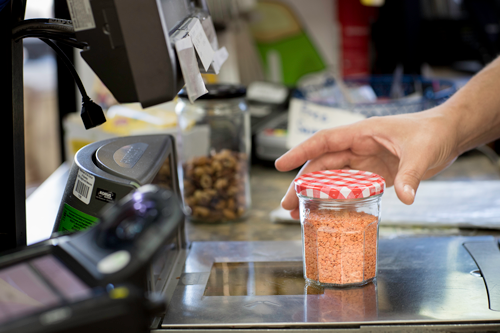
Don't forget to bring along glass jars or containers for purchasing bulk items. This allows you to buy exactly the quantity you need while bypassing unnecessary packaging. Cloth bags make the perfect home for fresh produce, bidding goodbye to those thin, single-use plastic bags that are notoriously hard to recycle. And of course, a reusable water bottle to stay hydrated on your shopping journey.
When it comes to fresh produce, bypass the pre-packaged options and fill your cloth bags with loose fruits and veggies. In the case of bulk items, a pro tip is to weigh your containers beforehand, ensuring you're only paying for the weight of the goods you're buying. With these essential items, you're now equipped to take on your zero waste shopping trip, paving the way towards a more sustainable lifestyle. Get ready to feel a surge of eco-accomplishment as you walk out of the store, carrying only products, and leaving behind no waste. It's quite a feeling, we promise!
Navigating the Supermarket for a Zero Waste Shopping Experience
Navigating the labyrinth of a conventional supermarket for a zero waste shopping experience might seem intimidating, but fret not! The key is in knowing where to look and what to look for. First things first, make a beeline for whole foods. They're not only healthier but also usually come with less packaging compared to processed goods. Remember, the fresher the produce, the lesser the packaging!
Bulk food sections are your next stop. With your containers in tow, stock up on everything from grains to legumes and from spices to nuts. Steer clear of items swathed in layers of non-recyclable packaging. Instead, seek out those encased in recyclable or compostable containers.
Beware of the 'greenwashing' traps set by clever marketing strategies and make informed choices based on the product and its packaging. Transitioning to a zero waste shopping routine in a regular supermarket may require a shift in perspective, but with persistence, it is entirely possible. After all, it's not about perfection, but progress towards a greener planet!
Embracing the Zero Waste Lifestyle Beyond Shopping
While mindful, package-free shopping is a major stride towards a zero waste lifestyle, many other facets of your daily routine offer opportunities for sustainable practices. Consider exploring the eco-friendly realm of composting, which takes your kitchen scraps and transforms them into a rich supplement for your plants. Try becoming a 'repair, not replace' advocate - fixing broken items rather than discarding them can significantly cut down on waste production. Be mindful of your water and energy use - simple actions like turning off lights when not in use, or reducing your shower time, can make a big difference over time.
Remember, your journey to a zero waste lifestyle isn't confined to the boundaries of a store. It extends to all aspects of your life, with each small step moving you closer to your eco-friendly goal. Let's remember, that each of these little actions is a triumph in itself. So let's celebrate every step towards a more sustainable lifestyle and continue to tread lightly on this beautiful planet we call home!